There may be some specific scenarios where you want to have both LAN and WiFi connected simultaneously. But you may have already noticed that if you reboot your Windows 10 machine and if you have a LAN cable plugged in, Windows 10 may not want to connect to WiFi even though you have checked the “Connect automatically” check box.

After researching and reading some community forums online, I found a solution that works perfectly.
To spare you some time and, most importantly, nerves, I put down a step-by-step solution. I hope you find it helpful. 😉
Step-by-Step Guide:
How to enable in Windows 10 to automatically connect to WiFi when you have a LAN cable plugged in and even though you have checked the “Connect automatically” check box:
1. Open Registry Editor

On your keyboard, hold the Windows Key and press R. In the run dialog, type in regedit and click OK to run Registry Editor.
2. Navigate to…
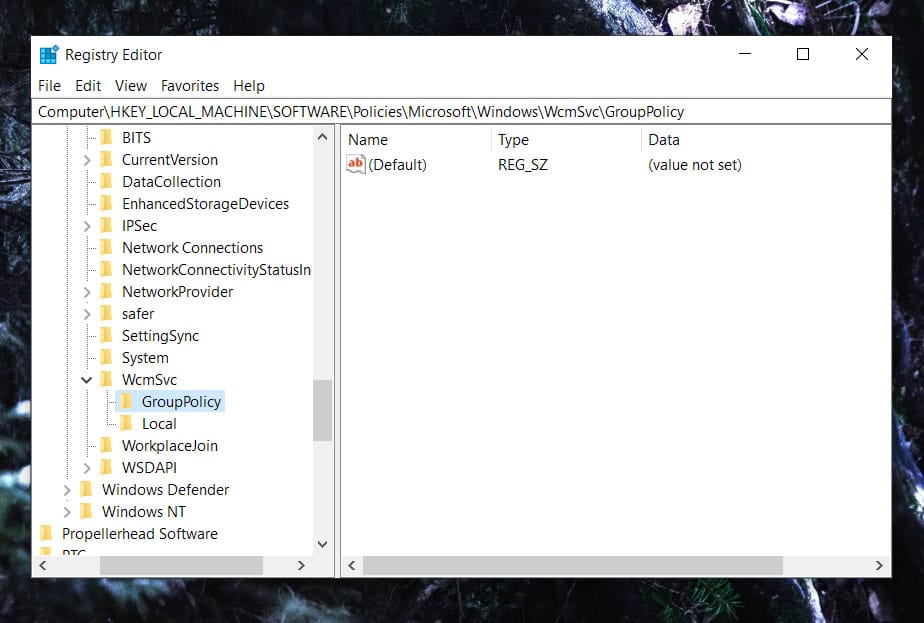
On the left side, navigate to the following path:
HKEY_LOCAL_MACHINE\SOFTWARE\Policies\Microsoft\Windows\WcmSvc\GroupPolicy
In case the key GroupPolicy does not exist, you can create it by right-clicking on WcmSvc, then New -> Key. And, of course, rename this newly created key to GroupPolicy.
3. Create new DWORD (32-bit)
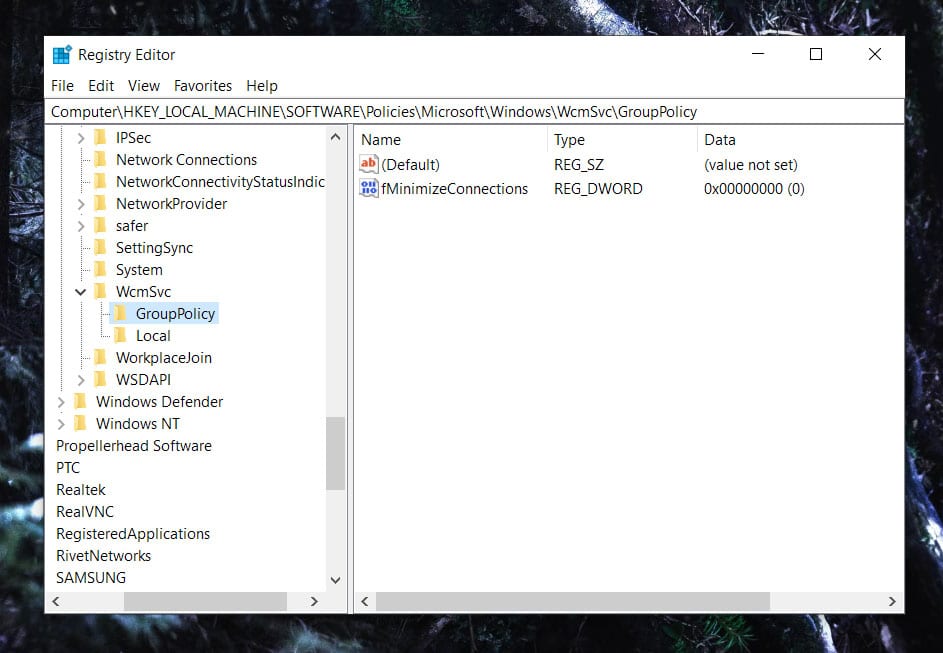
Right-click in the right pane and choose New -> DWORD (32-bit) Value and rename it to fMinimizeConnections. Leave the data value as it is to 0.
4. Restart
Restart your PC for the changes to take effect. After the restart, you will notice that WiFi now automatically connects as expected.
5. (Optional) Disable Power Saving Mode
This step is optional as it does not play a significant role. But it will prevent your computer from putting a WiFi card into a sleep mode when not in use.
As in the first step, hold the Windows Key and Press R. In the run dialog, type in devmgmt.msc and click OK to open up Device Manager.
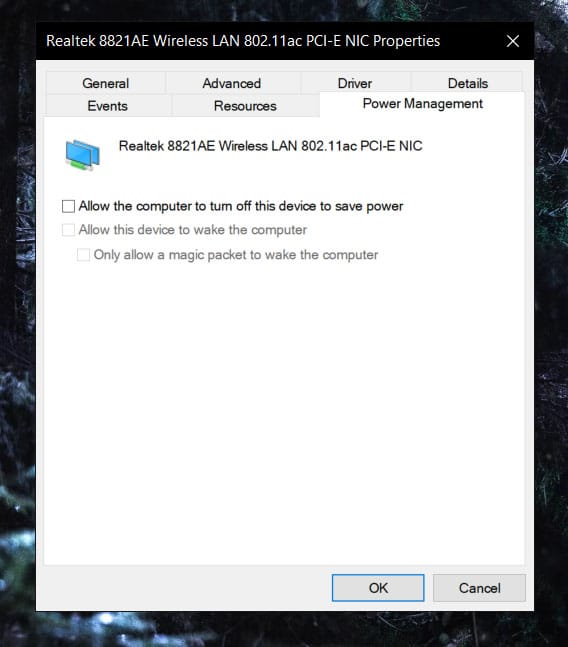
Under Network adapters, find your WiFi card, right-click on it and click Properties. Click on the Power Management tab and uncheck the check box Allow the computer to turn off this device to save power.
In case the Power Management tab is missing, open up the Registry Editor again, navigate to HKEY_LOCAL_MACHINE\SYSTEM\CurrentControlSet\Control\Power and create a new DWORD (32-bit) key named CsEnabled and set the value to 0. Restart your PC for the changes to take effect.
And that’s it. Now your Windows 10 machine will connect to the WiFi even though you have previously checked the “Connect automatically” check box and having your LAN cable plugged in.
Take care. 🙂

")


