Today one of my coworkers asked me to fix an issue regarding a shared printer in a local network. One of the shared printers stopped working out of the blue on his Windows 10 machine, and my first attempt to fix it was to delete the printer and install it once again. But all I got was a 0x00000709 error. In the end, it turned out to be a faulty KB5006670 Windows update that was causing the problem. Here’s how to solve this.
Symptoms
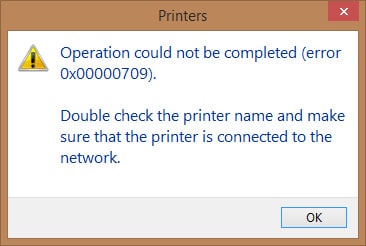 When trying to install a printer that is shared on another computer within the same local network, you get the 0x00000709 error message saying:
Operation could not be completed (error 0x00000709). Double check the printer name and make sure that the printer is connected to the network.
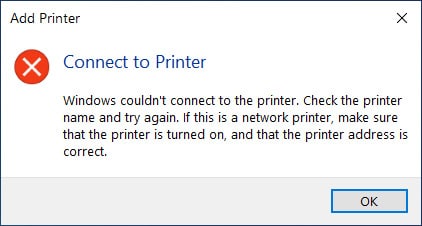
You may also get the following error when adding a new network printer via Control Panel->Hardware and Sound->Devices and Printers->Add a printer.
Windows couldn’t connect to the printer. Check the printer name and try again. If this is a network printer, make sure that the printer is turned on, and that the printer address is correct.
What Didn’t Work?
I’ve tried different things such as:
- Restarting Print Spooler service. No effect.
- Complete Network Reset. No effect.
- Reinstall and re-share the printer on the host machine. Problem remains.
Reproducing The Error
I did a fresh install of Windows 10 on a newly created virtual machine. After installation, the first thing I did was to install the printer. It worked flawlessly!
However, I have not yet updated Windows 10 to the latest version. After the update, the problem reappeared, meaning it most definitely has something to do with the latest update.
The Solution:
After the recreation of the problem on a clean Windows 10 VM, I removed the latest 2021-10 Cumulative Update for Windows 10 Version 21H1 for x64-based Systems (KB5006670), and the problem disappeared.
Here’s how to remove this update:
Step by step guide on how to uninstall KB5006670 Windows update package and get rid of 0x00000709 error.
Step 1: Open Settings application
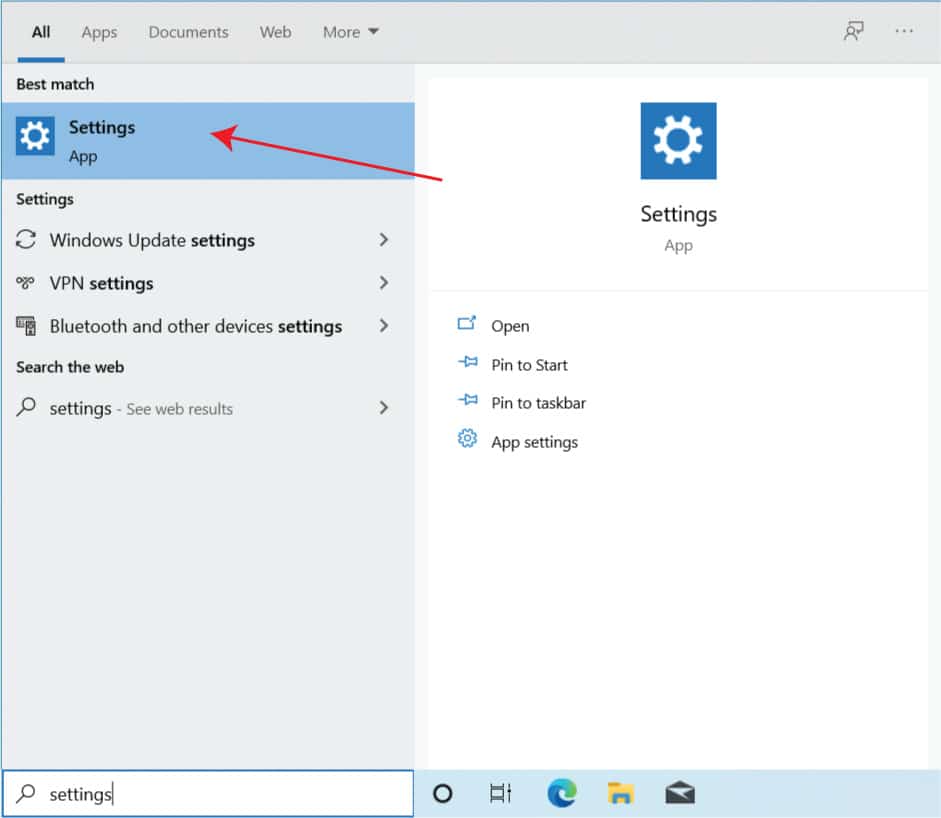
Click on the Windows menu, begin typing “settings,” and open the Settings app.
Step 2: Navigate to Updates & Security and pause the updates
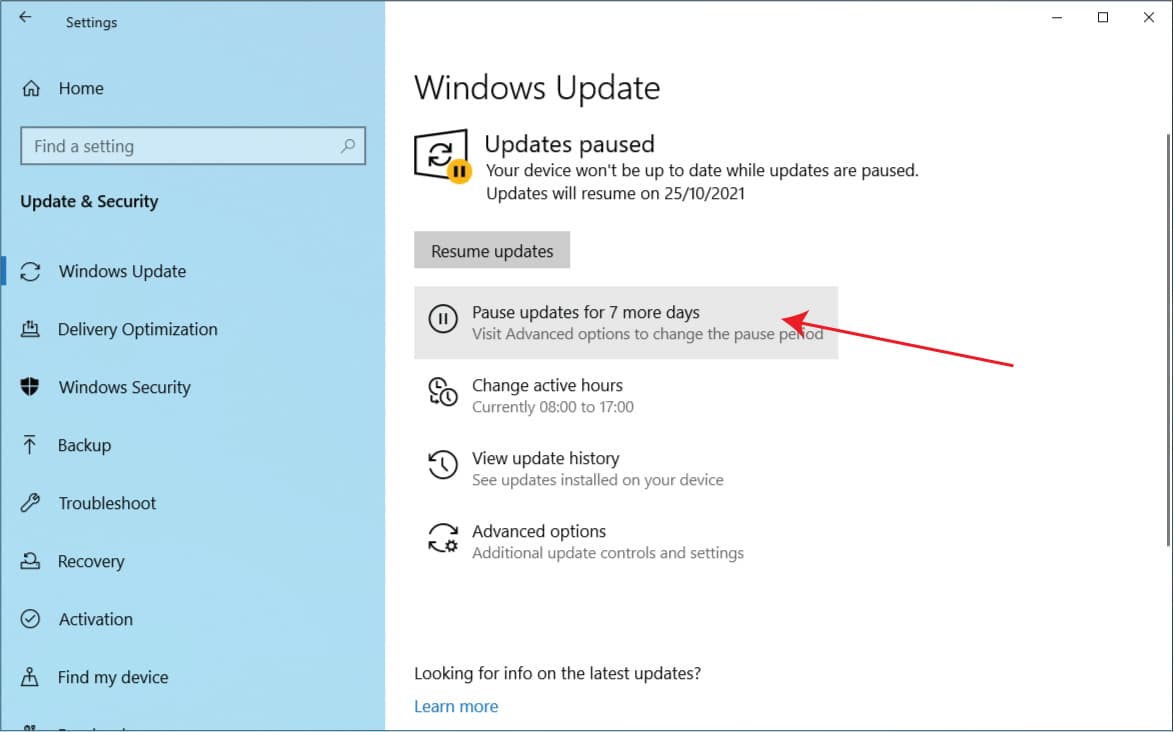
Down at the bottom, click on Update & Security and Pause updates for 7 days to ensure Windows doesn’t automatically re-download and install the KB5006670 update.
Step 3: Navigate to Uninstall updates
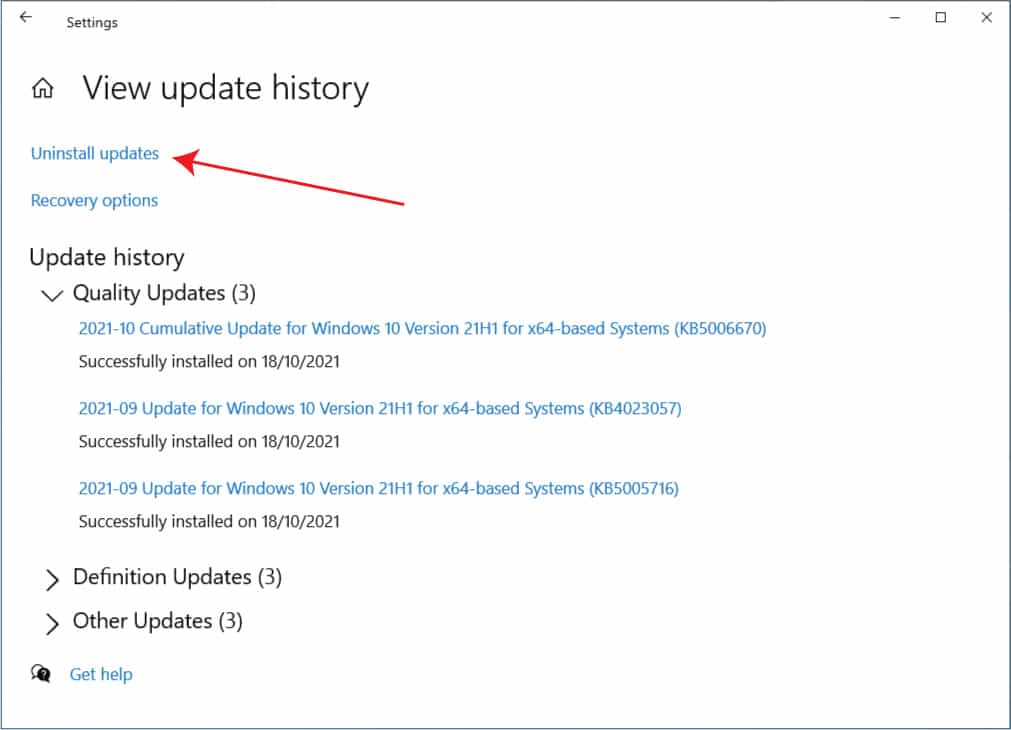
Next, you click on View update history and then Uninstall updates
Step 4: Locate the KB5006670 update and uninstall it

Locate the KB5006670 update and click on uninstall. Please note that you may have much more updates listed here. I’m showing an example on a fresh Windows 10 installation on a virtual machine.
Conclusion
After removing the KB5006670 Windows 10 update and restarting the client computer, the installation of the shared printer works again.
I’m totally aware that this is not a solution per se, as it’s not recommended to cancel and pause the updates. But it’s a viable solution until Microsoft fixes this specific update.
I hope this guide helps any of you experiencing the same problem with a shared printer.
Feel free to drop a commend on how it went in your case.
Take care.
Cheers! 🙂
I have the same problem. Did you uninstall KB5006670 on the client machine, the host machine, or both? A previous update, KB5005565, caused a similar problem and I had to remove it on the host machine.
Thanks, good question.
I uninstalled the KB5006670 update on a client machine.
I updated the article to make it more clear.
Thank you.
Thank you this fixed it for me.
I only had to uninstall from the client system.
Now for M$ to fix the problem!
Thank you, your advice helped fix the issue while most replies on other sites suggested deleting entries in registry.
Surely once the Windows updates is unpaused your Windows 10 client PC is going to get the update again and break everything and you can download an application called wushowhide.exe and unpause Windows updates and run the application and then hide KB5006670 from being installed again.
Win10 pro has some shit going on sometimes
Thanks for the solution, found it a day or two after your article went up.
I didn’t want to go through update uninstallation again after the pause expired so after a bit of tikering around when adding the printer to devices I managed to figure out what might be a permanent solution to this problem.
After the update when the printer is no longer working, I removed it from Devices and printers. Then I readded it through its local IP address(not sure if this influences anything). If you can add it without any errors then you should be given an option to choose a driver for the printer. I manually added it from a folder after downloading for the printer I use.
After that is done you should be able to print from the computer again without having to revert the update.
If you do get an error while adding the printer through local ip then add it to your devices however you can and then open its properties in Devices>Hardware tab and insert the driver you found instead of the one Windows automatically loaded for its use.